
A clearer bead pattern often starts with a better-framed image. Crop away space you do not need, then decide whether the remaining background belongs in the design. Removing everything around the subject is optional: a background may be part of the picture you want to keep.
Start with the subject
Look at the image small. Can you still distinguish the eyes, ears and outline? More source pixels cannot give a tiny subject more cells in a fixed-width chart. A closer crop can. Leave room around features you want to keep; cropping off an ear cannot be repaired by increasing the color limit. Our example reuses the original AI-generated cat from the first conversion guide. It is an illustration, not a photograph or a physical bead sample.
Compare three preparations
We converted the full 768 × 768 source, a centered 672 × 672 crop (48 pixels removed from each edge), and that same crop after the documented background cleanup. Every output is 52 × 52 cells with the Perler palette and a 16-color limit. Only source preparation changes. The cropped chart still uses 2,704 beads: cropping alone does not make the background transparent. After cleanup it uses 2,070 beads, with 634 empty cells. All three use 16 colors. These are measurements for this example, not promised savings for another image.
Full image
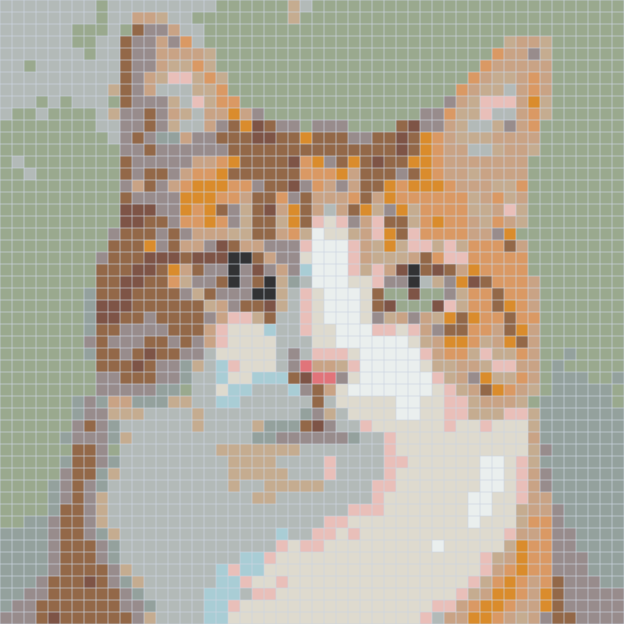
2,704 beads · 16 colors
Cropped
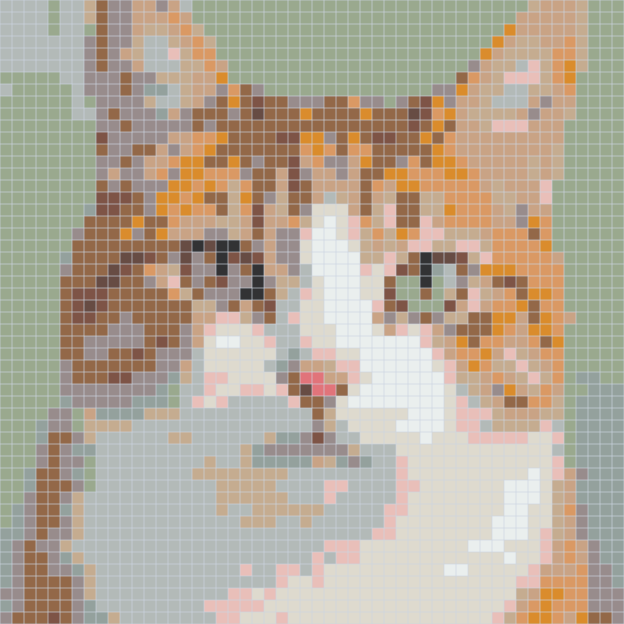
2,704 beads · 16 colors
Cropped and cleaned
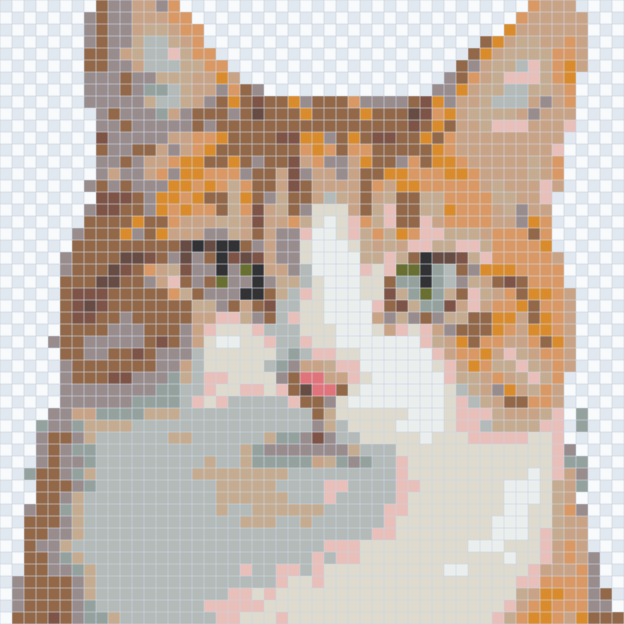
2,070 beads · 16 colors
Open each chart for a larger view. On-screen dimensions do not establish physical size.
This crop also goes too far: the image boundary cuts through the ear tips. Treat it as a candidate to revise, not a recommended final setting. Widen the crop if keeping the whole ears matters to you, then compare again. A lower bead count does not prove the result is better.
Choose a background tool
Cropping removes the outer edges of the image. To remove background inside the crop, open Adjust & remove background → Edit background → Click regions. Use it for solid or near-solid connected areas. Separate background regions need separate clicks. For a complicated background, Keep an area lets you outline the subject; it is a boundary you draw, not automatic subject recognition. Use the erase brush for leftovers and the restore brush for accidental removal. A white background is still a bead color unless you make it transparent.
Repair before confirming
This example uses the same three region selections and edge brush cleanup documented in the first guide, applied before cropping. That cleanup also removes some fine whisker tips. The first guide records white chest fur being lost at a higher tolerance: increasing the number is not always an improvement. Check the ears, cheeks and chest after each operation. Undo a bad removal or use the restore brush to recover original transparency. The tolerance slider changes the latest region selection only; the restore brush does not undo the keep-area outline. If the outline itself cuts into the subject, adjust or remove that outline.
Check the pattern
Return to Pattern preview and inspect the result close up and at normal size. Check whether the eyes remain distinct, whether background flecks remain, and whether the outline lost something important. Checkerboard positions are empty; white cells still need beads. Brightness and contrast adjustments may help a dark image, but they cannot recover missing detail. Change one setting at a time and compare before confirming. Preparation changes are staged until you confirm and generation succeeds; your original image is retained. For the next decision, compare grid sizes or learn when reducing colors helps. These diagrams do not establish physical color accuracy or finished bead strength.