THE PATTERN NOTEBOOK
A little guidance, one bead at a time.
Practical guides to choosing an image, understanding a bead pattern, and making thoughtful adjustments before you export.

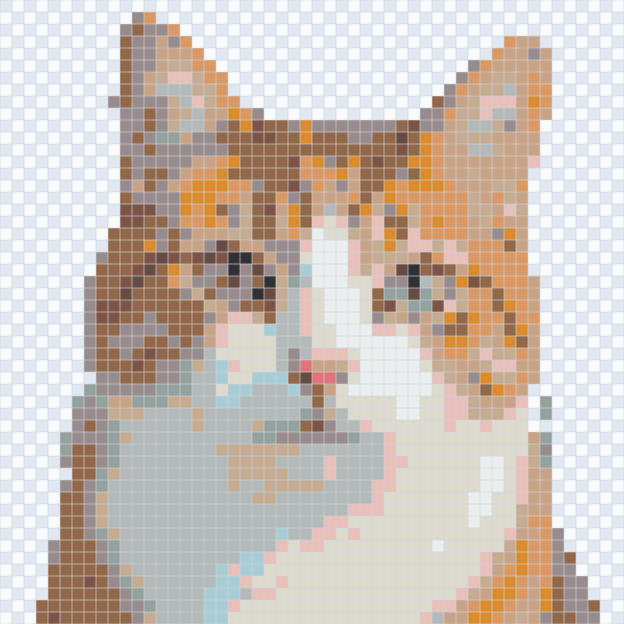
Getting started · 9 min read
How to turn a photo into a Perler bead pattern
Start with a clear photo. Choose a grid size and color palette, check the details that matter, and download a digital pattern you can refer to.
Read the guide ↗
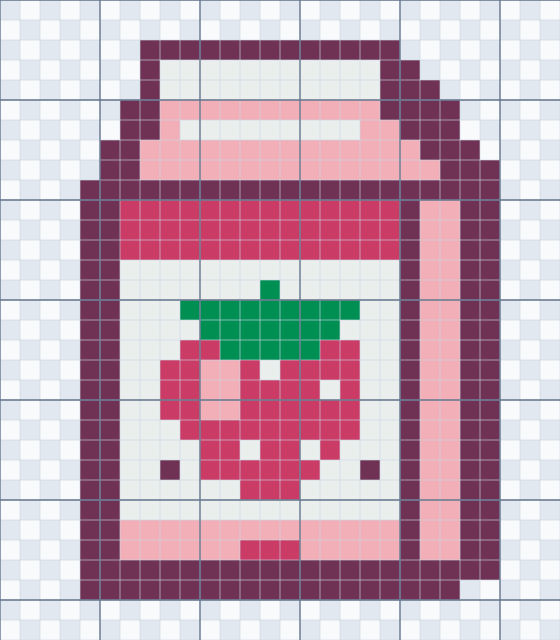
Reading patterns · 7 min read
How to Read and Follow a Perler Bead Pattern
Learn to spot empty cells, read Perler color codes and bead counts, follow a pattern one color at a time, and check a PDF against your own board.
Read the guide ↗
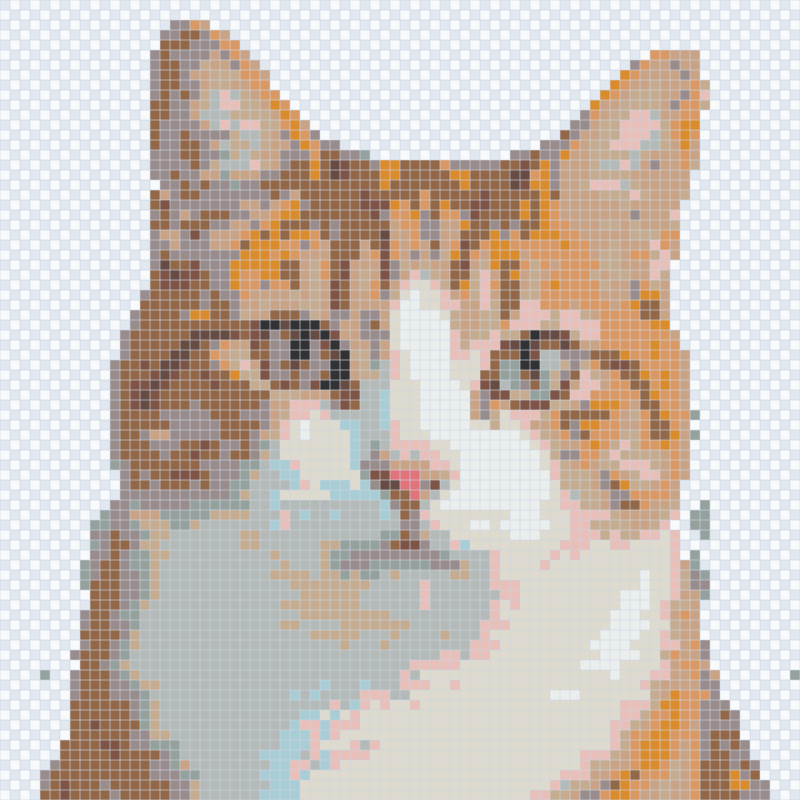
Planning a pattern · 7 min read
How big should your Perler bead pattern be?
Compare one photo at three grid sizes, see how detail and bead counts change, and check the full pattern against your own pegboards before printing.
Read the guide ↗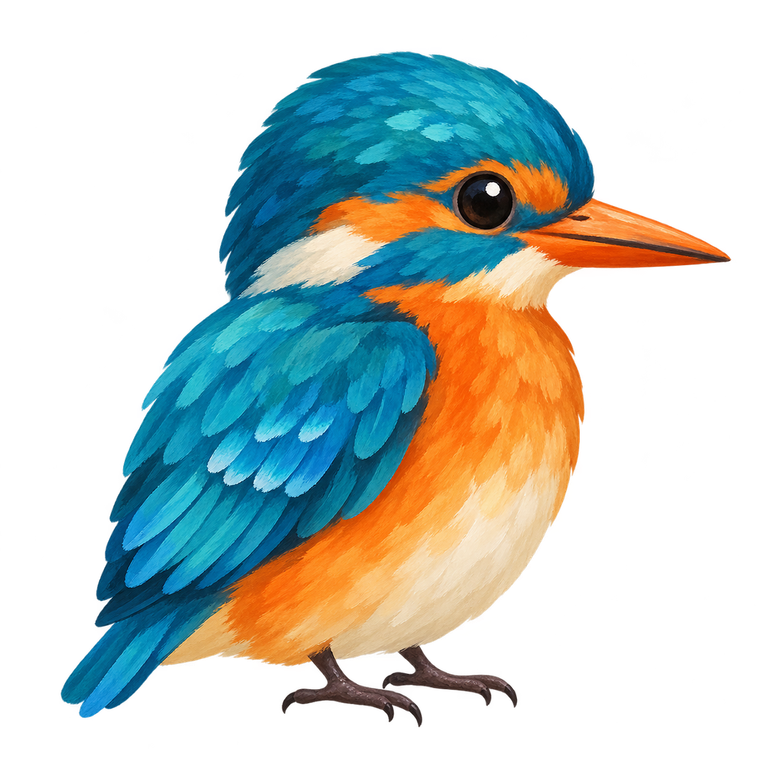
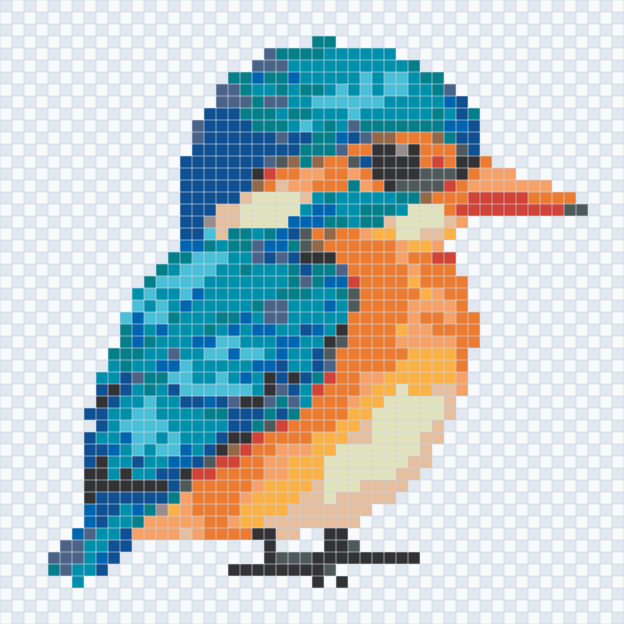
Refining a pattern · 7 min read
How to reduce colors in a Perler bead pattern
Compare 8, 16 and 24 colors, then see what rare-color merging and isolated-cell cleanup actually change—and which details are worth keeping.
Read the guide ↗
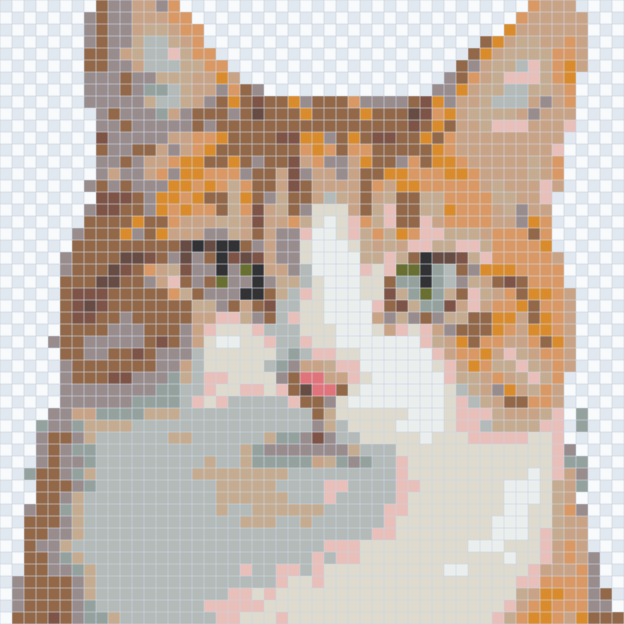
Refining a pattern · 5 min read
How to prepare a photo for a Perler bead pattern
A clearer bead pattern often starts with a better-framed image. Crop away space you do not need, then decide whether the remaining background belongs in the design. Removing everything around the subject is optional: a background may be part of the picture you want to keep.
Read the guide ↗Refining a pattern · 5 min read + interactive demo
Adapt a bead pattern to the beads you have
A pattern you like may use a bead brand you do not own. Change its palette to find approximate colors in your brand, then replace individual colors when you have a preferred substitute. Check the face and other important details before you settle on the new version.
Read the guide ↗